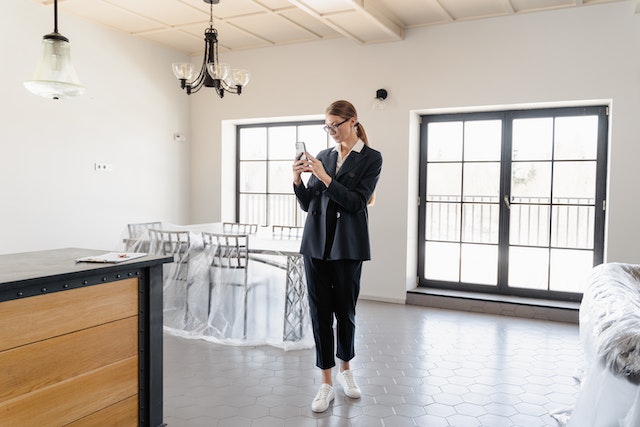
An exposé of your property needs one thing above all: good pictures. Many people who want to sell or rent out their apartment or house wonder whether they can take photos themselves. With our tips, you can even do this with a smartphone.
Here you can find the best tips on nude photography with techniques and photos.
Tip 1: Use Hidden Functions in the Smartphone
Depending on which smartphone you use, the camera app offers a few useful functions that are particularly helpful when photographing your property.
First:
Look for the self-timer function, on most smartphones it’s called “timer” or something similar. The camera app then counts two to three seconds after the shutter button is touched until the picture is taken. This will prevent you from shaking your mobile phone and blurring the picture when you release it via the touchscreen.
Secondly:
If your smartphone has an HDR function, switch it on. HDR means “High Dynamic Range” and means that the camera uses different exposure times for light and dark areas of the image and merges them together. Laypersons in particular are able to take such good pictures in difficult environments, for example when bright light falls through a window into an otherwise dark room.
Tip 2: Use Room Corners
Pictures should be taken at chest height – this is a natural, comfortable perspective. You should never go too deep, especially in tight spaces, because a worm’s-eye view distorts the room. In small rooms, you should rather go to a higher position to maintain an overview.
Always keep the camera straight. Use the corners of the room as a location: You can see much more from here than from the middle of the room. If you only want to show one picture of the room, still snap from all four corners and choose the best perspective.
Make sure the camera is level to avoid distortion.
Tip 3: No More Crooked Houses
If you want to photograph your property from the outside, you quickly become acquainted with an optical phenomenon. It seems as if the building were tipping backwards or actually buckling.
The phenomenon is called “falling lines” and it’s caused by not aligning your camera or smartphone’s sensor parallel to the vertical lines of the house.
Hence the tip: never squat down. Instead, try to get a higher vantage point, such as a ladder, a window in the neighboring building, or keep your distance.
The further away you get from your house, the weaker the effect. However, you then have to remove the excess ground or sky afterwards.
Tip 4: Avoid Typical Beginner Mistakes
A few mistakes when taking photos creep in again and again, so we point them out separately again:
- Watch out for reflections in computer monitors and glass showcases: some people have recognized themselves in their real estate photos, even though they are scantily clad.
- Blur things you don’t want in the picture. Best example: If you have parked cars in the picture when photographing an apartment building, you should alienate their license plates so that they are illegible when editing the picture.
- Always use landscape format when taking photos. The image view for your exposé at ImmoScout24 is optimized for this format.
Tip 5: Make your Property Photo-Pretty!
You don’t need to remodel or redecorate extensively, but for good photos you should move anything that looks untidy out of the way.
Remember: Your tenant or buyer will want to furnish themselves differently anyway, so you should present the architecture and furnishings of the property to them as unvarnished as possible.
Clarity and neutrality should prevail in your rooms when you photograph them. Everything that is too small in the picture should be removed. However, you are welcome to photograph architectural features such as stucco or special doors as a special detail.
You don’t have to redecorate your house for the photo, but you should at least remove the worst of the chaos. Remember: the more neutral, the more suitable the rooms seem for different tastes.
What applies to the rooms also applies to the balcony or garden. Ideally, pick a day with nice weather but an overcast sky: the latter provides softer contrasts.
The garden and the terrace or balcony should appear tidy and inviting.
Tip 6: Light and Lighting
Photography lives from the light. That’s why you should use natural light as much as possible. Open the blinds or intermediate doors. The flash on the smartphone is taboo: it is too weak for a room and, in the worst case, illuminates objects in the foreground and distorts the colors.
If you are dealing with a room that has strong light-dark contrasts, the HDR function from tip 1 comes into its own. Thanks to the tripod and self-timer, you can also leave the camera app with a longer exposure time – this makes dark areas brighter.
Avoid shooting into the light, it’s best to shoot with the light. You should also show off the beautiful view through a window, but create a good balance of light inside and out.
Tip 7: Pay Attention to the Details
If there are special details in your property, you are welcome to photograph them. Noble stucco in an old building that reflects the charm of the rooms deserves a photo of its own.

